Who does not want a durable and attractive outdoor? When it comes to paving, Indian Sandstone is the best way to enhance your garden paths, patios, and other outdoor recreational spaces. They provide exquisite natural variations in colours and textures.
Among the most popular Indian sandstone paving slabs are Kandla Grey and Raj Green. They provide timeless elegance that is well-suited for both modern and traditional UK homes.
In this guide on how to lay sandstone paving slabs, we will learn about:
- Planning
- Site Preparation
- Materials
- Tools
- Step-by-step Installations
- Pointing
- Finishing Tips
So without further ado, let’s dive in.
Planning and Site Prep
You don’t randomly start installing paving slabs. You will first have to prepare the ground you have to work on, way before laying sandstone paving. It will ensure the durability and strength of your driveway and prolong your pavement’s life if properly taken care of.
Define the Area
First, you need to measure the area and mark out your space you want to pave, i.e., patio or pathway. Allow at least 50mm joint between each slab you would like to lay. Define a mock layout in order to ensure that the colours and textures are balanced.
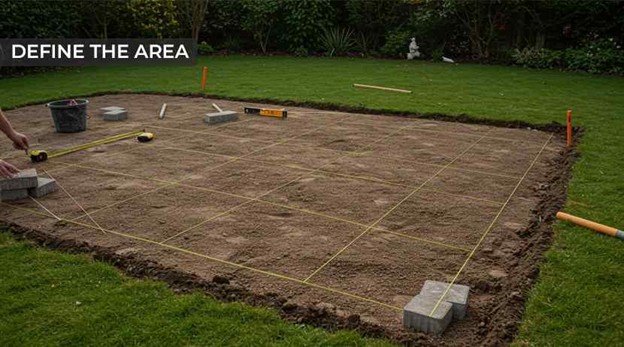
This step is especially important if you are going for a toned paving slab like Kandla Grey or Raj Green.
Excavate the Base
The total depth of your base depends on what you’re going to use the space for. For a normal low to medium traffic patio or pathway, excavate up to 100mm; for driveways, 150mm is best. To ensure that the area does not accumulate water, add a fall ratio of 1:60 away from the building.
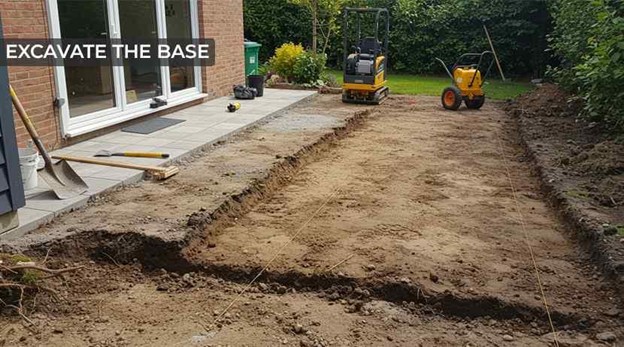
Remove all the dirt, debris, and roots for a stable base.
Create a Sub-Base
A stable sub-base is important to bear traffic and remain strong over the years. For a strong base, lay 75 to 100mm of MOT Type 1 aggregate. Do not forget to compact gently.
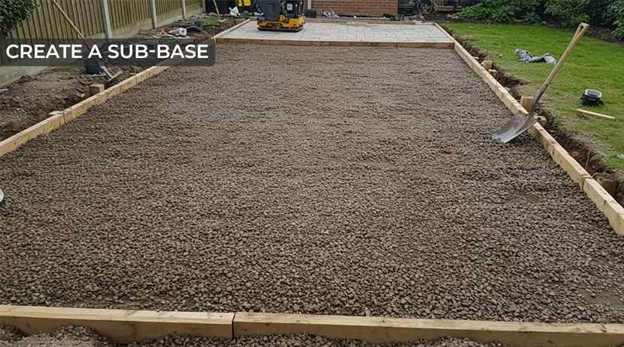
For compacting, first wet the aggregate and then use a vibrating plate to prevent future settlement.
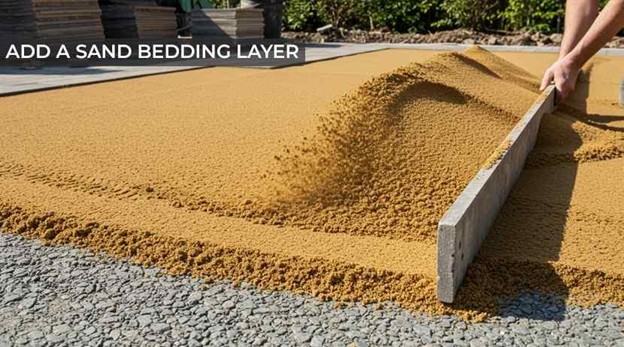
Add a Sand Bedding Layer
After leveling the aggregate, overlay it with a 30 to 50mm sharp sand. Screed it flat to achieve a uniform bedding layer. The sand bedding accommodates the slight irregularities and ensures that the area is evenly covered.
Choosing the Right Material
Before you install your driveway slabs, always ensure that you use quality materials (for instance, for paving slabs, Indian Sandstones) to achieve the best possible results for years to come.
High-Quality Indian Sandstone Paving
order to achieve the long-term goal of patio or driveway stability, opt for high-quality Indian Sandstone paving. Make sure that the sandstone paving slabs have a consistent thickness of 20 to 40mm and the edges are properly sealed.
Some of the most popular Indian sandstone paving slabs are Kandla Grey and Raj Green. They are fan favourites for their attractive and stable colouration.
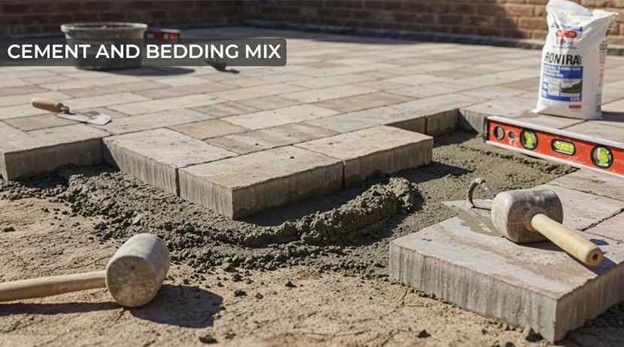
Cement and Bedding Mix
If you want your Indian stone paving slabs to be stable and fixed, use a 4:1 sharp sand to cement mix. For flexibility, you can also add a 5% plasticiser, as one of the best paving practices.
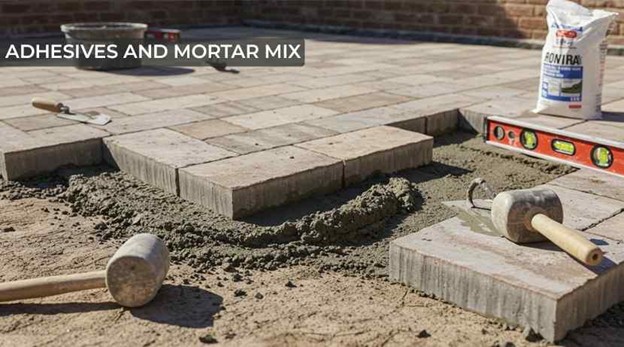
Adhesives and Mortar Mix
If you want to pave your poolside patio or wet areas, use polymer-enhanced mortar mix. One of the best mortar mixes for sandstone is a resin-bonded mortar. For jointing, a semi-wet post pointing mortar is ideal, especially the 1:4 cement to kiln-dried sand and a paving joint sandy compound.
Laying Indian Sandstone Paving
In this part, we will guide you through the step-by-step process of installing Indian Sandstone paving slabs.
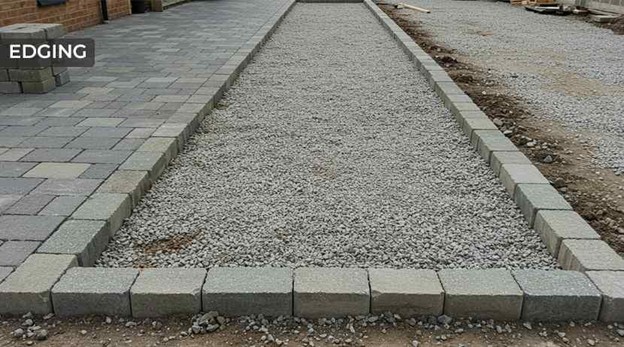
Step 1: Edging
In order to prevent paving tile slipping, install edges made of concrete kerbs or pressure-treated timber framing. Do not forget to ensure that the edges are firmly bedded in the area and are levelled.
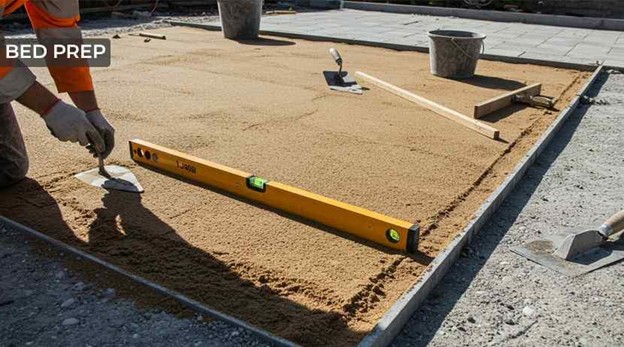
Step 2: Bed Prep
Use a spirit level to level the screeded sand and make sure that the surface is flat and even. An ever and a 1:60 fall source will provide a drainage fall in your outdoor area.
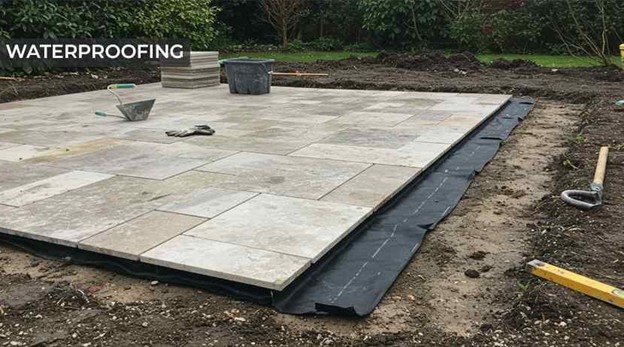
Step 3: Waterproofing
In moist climate areas like the UK, it is crucial to apply a polymeric damp-proof membrane between the slabs and the bedding. It will positively impact the longevity of your driveway or patio.
Step 4: Cutting and Shaping
An angle grinder with a diamond blade is best for a precise cut. Keep the paving slab’s edges clean and neat.
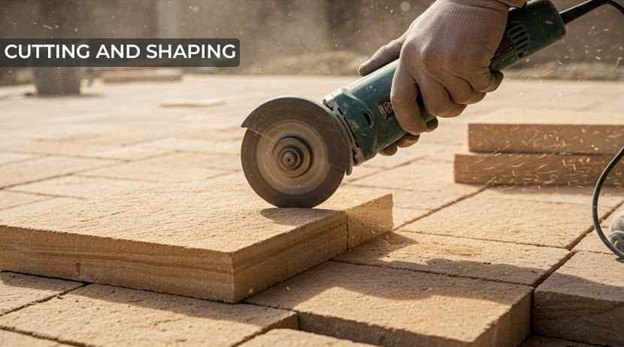
Order extra sandstone paving slabs for the remaining uneven areas of your space and cut precisely before laying them.
Step 5: Laying Sandstone Slabs
For a uniform and consistent look of your patio slabs, Indian sandstone laying must start from the corner of your outdoor space or building entrance.
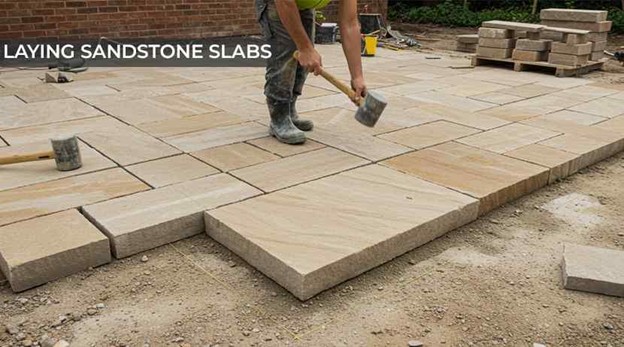
Use a rubber mallet to gently tap each sandstone Indian paving slab. Leave a consistent gap of 8 to 10mm between each slab. Use a builder’s line or a string to maintain the preferred alignment.
Pointing, Cleaning, and Sealing
We are not done after laying indian sandstone paving slabs. The best way to lay Indian Sandstone paving is to do the following after the step-by-step process:
Clear Debris
Once the slabs are laid, leave them for 24 to 48 hours to dry. After drying, sweep the entire floor area clean and remove dust, sand, and cutting grit.
Fill the Joints
After clearing the surface, apply pointing mortar, which is a 1:4 cement and sand ratio with polymer additive. Tap the solution into the joints. Brush off the excess joint and mist over with a fine spray until the jointing is dry.

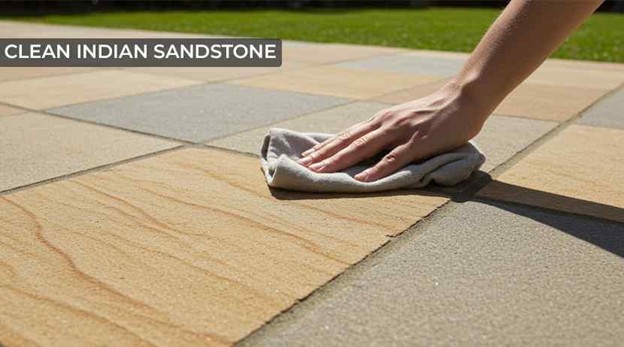
Clean Indian Sandstone
After everything is done and dusted, power wash at a low force to remove the excess mortar residue. Be careful not to disturb the newly filled joints.
Seal the Surface
After washing the surface, apply a breathable impregnating sealer. It will secure the India stone paving slabs and help in their longevity and colour retention.
Finishes and Additional Touches
There are various sandstone finishes that you can choose from, and multiple additional touches that can enhance your outdoor paving game to another level.
Sandstone Surface Finishes
Below are some of the most desirable finishes you can choose from for your Indian Sandstone patio, garden path, or driveway.
- Natural.
- Textured surface.
- High-end.
- Sleek and smooth finish.
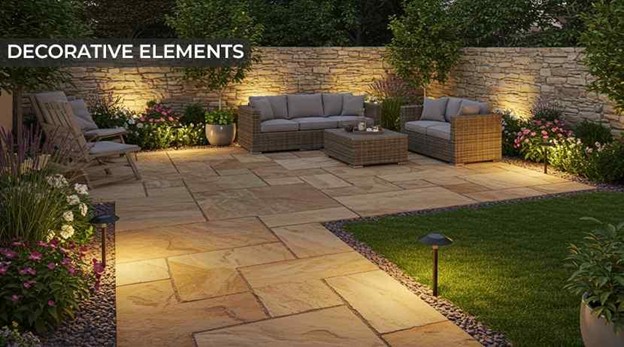
Decorative Elements
You can boost the aesthetic of your Indian Sandstone patio slabs by adding certain elements to the equation. These elements can be in the form of:
- Planted Orders.
- Outdoor Porcelain Tiles for stepping stones.
- Solar low-level uplights.
- LEDs behind your split-face wall tiles.
- Outdoor furniture pieces complement your paving slab colours.
If you want to find out more about Indian Sandstone paving slabs and why it is a popular choice for UK homeowners, you might find this article resourceful: Why is Sandstone Paving a Popular Choice for Outdoor Patios?
To Sum Up
While asking how to lay sandstone paving slabs, you need to know that it requires careful planning and techniques, which might take a lot of time. However, the results, especially with variants like Kandla Grey and Raj Green, it is all worth it to transform your outdoor space brilliantly.
Royale Stones provides its customers with the best resources to choose premium Indian sandstone paving and other high-quality outdoor tiles for a durable yet beautiful home for decades to come.
No matter what your choice is, whether rustic or modern, use this guide and your patio will be your place of pride!
Frequently Asked Questions
Q: What do you lay sandstone paving on?
A: Lay your sandstone paving slab on a 77mm to 100mm compacted MOT Type 1 aggregate, topped with 30mm to 50mm sharp sand or 4:1 sand and cement mix, depending on your paving choice.
Q: What cement mix for sandstone paving?
A: Use a 4:1 sharp sand to cement ratio with 5% plasticiser as a mortar mix. For wet or high-traffic areas like driveways or garden paths, use a flexible polymer-enhanced mix.
Q: How do you stick sandstone to concrete?
A: Apply a flexible adhesive mortar on both surfaces, face-to-face. Slip your slab into position and press firmly on the cement. After it is dried, use a cement-based pointing mortar to joint the gaps between the slabs.
Q: How do you lay sandstone pavers on concrete?
A: Clean and prime the concrete. Apply a 10mm to 20mm paving adhesive or mortar on the concrete, set your slab into place, and maintain consistent spacing. After it is dried, join the gaps with the mortar mix.
Q: What is the best pointing mix for sandstone?
A: A semi-dry 1:4 kiln-dried sand and cement mix with polymer additive is ideal and offers flexible durability. It also helps in preventing cracked joints.