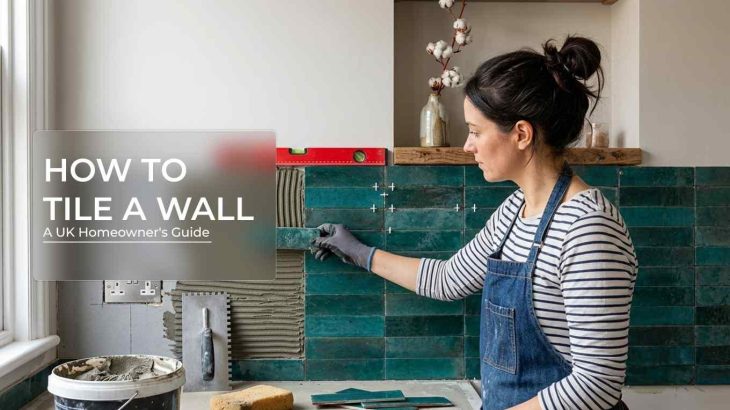
Floor tiles take most of the crowd, but wall tiles also work hard but differently. A well-tiled kitchen backsplash survives two decades of splashes and steam, while a poorly prepped bathroom wall can fail within a year or at least show that it is failing. The difference is rarely the tile itself; it is what happens before the adhesive ever touches the wall.
This guide walks through the process the way a professional tiler would approach it, including:
- Checking the substrate
- Choosing the right material for the room
- Waterproofing where it matters
- Finishing to a standard that will not need redoing
No matter what wall project you are tackling, a DIY kitchen backsplash, or a brief for a contractor on a bathroom retile, the sequence below follows BS 5385 (the British Standard for wall and floor tiling) and current guidance from The Tile Association (TTA), the UK trade body for the tiling industry.
For inspiration once you’ve got the technical side sorted, browse our Indoor Wall Tiles range.
Step 1: Preparing the Wall
The tile is as durable and strong as the surface underneath it. Rushing this stage means cracked, lifted or falling-off tiles within the first year.
Check If the Substrate is Suitable
If your wall is made of sound plaster, plasterboard, cement board, and proprietary tile backer boards, they are all acceptable as background substrate.
DISCLAIMER: While plywood and other wood-based sheets are a different story. Since the 2018 revision of BS 5385-1, plywood and other wood-based boards are no longer recommended as a direct tiling substrate for walls, because they move too much with changes in moisture and temperature.
If you are working with an existing plywood-lined wall, the fix is to overlay it with a proper tile backer board rather than tiling straight into the ply.
Plasterboard Needs a Few Checks of Its Own
Standard 12.5mm plasterboard will typically support tiling loads up to around 32kg per m², which covers most ceramic wall tiles, but it should be securely fixed at the recommended screws centres with no protruding fixings.
- In dry rooms, standard or moisture-resistant plasterboard is generally fine once primed correctly.
- In showers, wet rooms, and splash zones, plasterboard alone is not considered adequate protection.
The wet areas need a proper waterproofing tanking system over the top, which we will cover in step 4.
Give Plaster Time to Cure
As per British Standards BS5985, newly applied plaster should be left for a minimum of four weeks before tiling, and it needs to be dry, flush and plumb.
Warning: Tiling onto damp plaster results in early adhesion failure because the moisture has nowhere to go once it’s sealed behind adhesive and tile.
Never Use PVA as a Primer
It is worth repeating because it is still one of the most common DIY mistakes UH homeowners make.
Standard adhesives and grouts are cement-based and alkaline; when they come into contact with PVA, a chemical reaction breaks the PVA down, weakening the bond. That is why adhesive manufacturers such as Ardex, BAL, and Dunlop explicitly exclude PVA as an acceptable primer.
Use a proper acrylic or SBR-based tiling primer instead; it is a small cost against the price of retiling a wall that’s failed.
Level and Clean Before You Start
Remove any loose material on your wall, such as dust and grease, etc, and fill any hollows or cracks. A flat, clean substrate means less adhesive wastage and a straighter finish.
Step 2: Choosing the Right Tiles
It is important to know how many tile choices you have and choose the most appropriate one for your home.
Ceramic vs Porcelain vs Stone Tiles
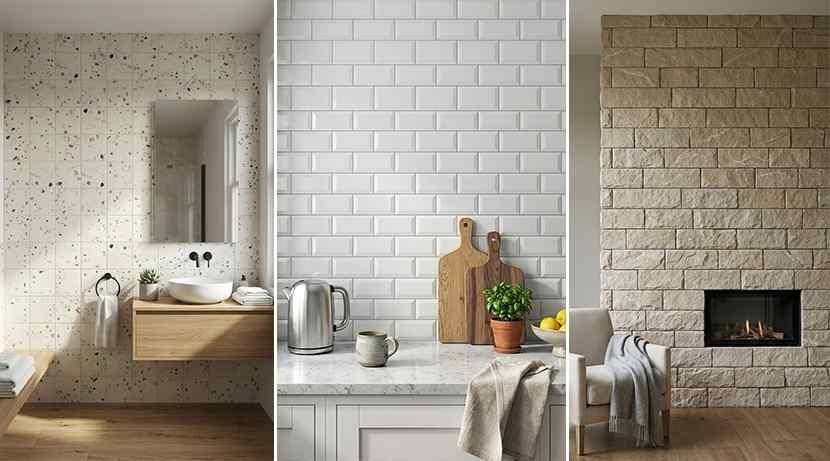
Ceramic glazed ceramic wall tiles are generally the right choice for dry, low-traffic areas such as kitchen splashbacks. They typically have water absorption above 10%, which is fine where the tile is not in contact with water.
Porcelain tiles are fired at higher temperatures and are classified as low-absorbing tiles with porosity as low as 0.5% under EN ISO 10545-3, making them the better choice for bathrooms, shower enclosures, and wet rooms.
Natural stone tiles (travertine, marble, and limestone) look absolutely breathtaking on kitchen and bathroom walls; however, they need to be sealed before and after grouting and annually based on how much traffic your space receives. They generally cost more to install due to the extra care required in cutting and fixing; however, it is a strong option for a period or higher-end finish.
Our bathroom wall tiles and kitchen wall tiles range are sorted with these differences in mind, and if you like the look of natural stone without the sealing maintenance, travertine-effect and marble-effect porcelain tiles are worth a look.
Tile Size Affects the Whole Job
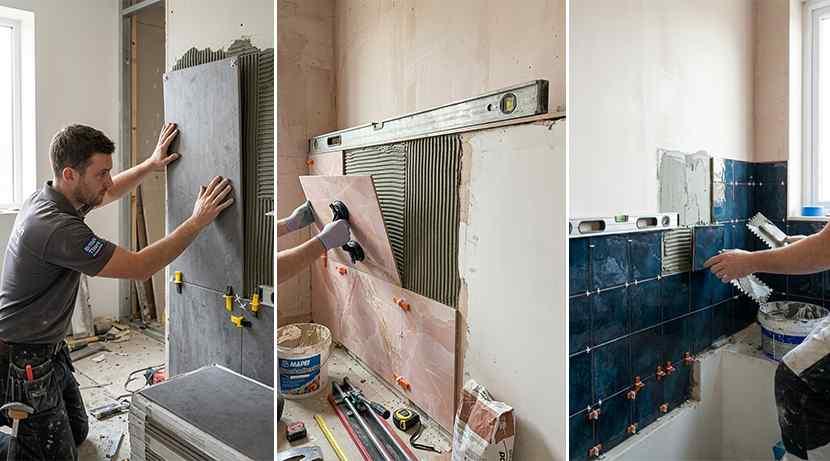
Small tiles such as mosaic, brick or metro tiles (100x200mm and similar) are forgiving for DIY and hide minor wall imperfections well. Large-format tiles (600x600mm and more) need a flatter substrate, specialist adhesive and usually two people to handle and place safely without cracking.
If you are leaning towards a large-format look, it’s worth reading up on how large-format wall tiles change interiors before you commit, and checking our 600x600mm and 1200x600mm ranges.
Outdoor and Exterior Walls Are a Different Specification Entirely
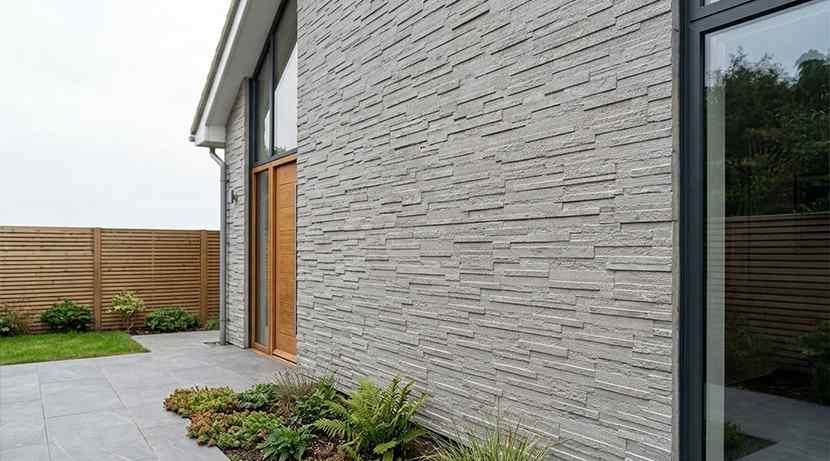
Garden walls, facade, and outdoor cladding need frost-resistant tiles for exterior use, different adhesive and grout systems, and attention to drain and movement joints. Porous ceramic tiles that work fine indoors are destined to crack or spall after one UK winter. If that is your project, our outdoor wall cladding range is built for exactly this.
Step 3: Selecting Adhesive & Tools
Adhesive choice is where a lot of otherwise well-prepped jobs go wrong, mostly because people assume “tile adhesive” is on the product. It isn’t.
| Adhesive type | Best for | Notes |
| Ready-mixed (tub) | Small ceramic tiles, dry areas, walls only | Convenient but lower strength; never use on floors or in wet areas |
| Standard powder (C1) | Ceramic wall tiles in normal conditions | Mixed on site, better strength than ready-mixed |
| Flexible C2 S1 | Porcelain tiles, wet rooms, large-format tiles, underfloor heating | Higher bond strength (C2) plus the ability to flex 2.5–5mm without failing (S1) |
The C2/S1 (or higher) classification comes from the European standard EN12004, which rates adhesives on adhesion strength (C1 or C2) and flexibility (S1 or S2).
As a rule of thumb: porcelain, tiles over 30x30cm, natural stone, and anything going over underfloor heating all call for a flexible C2 S1 adhesive at minimum.
Don’t Cross-Use Floor and Wall Adhesives
They are formulated differently for vertical versus horizontal loading, and floor adhesive on a wall (or vice versa) risks slump or premature failure. Use the product specified for the application, not just the tile type.
Tools Checklist
- Notched trowel (size depends on tile size)
- Tile spacers
- Spirit level or laser level
- Tile cutter (manual score-and-snap for smaller ceramic, wet saw for porcelain and large-format)
- Grout float
- Sponge
- A mixing paddle (if you’re using powdered adhesive)
For the adhesive itself, our Tile Adhesives & Essentials range covers both ready-mixed and flexible powder options, and our guide on what tile adhesive to use for walls goes into more depth on matching adhesive to tile type.
Step 4: Waterproofing & Safety
Tiles And Grout Are Not Waterproof, They Are Water-resistant at Best.
This is a common misconception. Cementitious grout in particular will allow moisture to pass through over time. Which is why bathrooms and wet rooms need a proper tanking (waterproofing membrane) system applied to the substrate before tiling begins, not just tiles and grout relied on as the barrier.
Since the 2018 update to BS 5385-1, this applies to domestic wet areas as well as commercial ones, not just high-spec wet rooms.
Expansion and Movement Joints Matter More Than They Look Like They Should
Tiles, adhesive, and the substrate all expand and contract at slightly different rates. At changes of plane, where a wall meets a wall, or a wall meets a bath or shower tray, use flexible silicone sealant, not grout. Grout is rigid and will crack at these movement points; sealant is designed to flex with them.
Leave a Newly Tiled Shower Alone for At Least 14 Days
Leave adhesive and tanking to cure before using it. Using an uncured shower too early is one of the more common causes of early tile and grout failure in new installations.
Safety Note: Cutting porcelain and natural stone tiles, especially with an angle grinder or wet saw, produces fine dust that can contain respirable crystalline silica. The Health and Safety Executive (HSE) recommends wet-cutting methods where possible and appropriate respiratory protection when dry-cutting is unavoidable; worth bearing in mind if you’re cutting a large volume of porcelain or stone yourself.
Step 5: The Tiling Process
If you want to understand the professional method of how to tile a wall, this is how you do it:
- Mark Your Layout Before You Mix Any Adhesive: Find the centre point of the wall (or work out from a focal point like a window or fireplace) and dry-lay a row of tiles to check spacing and avoid ending up with slivers of tile at the edges.
- Apply Adhesive Evenly with the correct notch size for your tile. Too little adhesive leaves hollow spots that weaken the bond; too much causes squeeze-out and uneven coverage. Large-format and porcelain tiles generally need back-buttering (adhesive applied to the tile as well as the wall) for full coverage.
- Use Spacers Consistently to keep joints uniform. (see Step 6 for correct widths by tile size).
- Cut Tiles for Edges, Corners, and Sockets as you go. Check each cut piece against the actual gap rather than measuring once and cutting a whole batch.
- Fit Trims or Edging at exposed tile edges, external corners, and where tiling meets another material. Trims protect the tile edge from chipping and give a cleaner finish than a raw cut edge.
Step 6: Grouting & Finishing
Grout joint width isn’t just aesthetic; it is specified by tile size for structural reasons. Per the Tile Association’s technical guidance, which follows BS 5385-3:
- Tiles with a facial area under 0.1m² (no side over 600mm): joints should be no less than 2mm
- Tiles with a facial area between 0.1m² and 1m² (no side over 1200mm): joints should be no less than 3mm
Narrower joints than this cannot accommodate normal-sized variation between tiles and are more prone to cracking.
Cleaning technique affects the finished look. Cleaning grout off the tile face too early is a common cause of patchy, uneven colour and can also weaken the grout itself by disturbing it before it’s set. Follow the grout manufacturer’s working and curing times rather than judging by eye.
Seal natural stone after grouting. It is important to seal the natural stone before grouting too, depending on the stone. Unsealed stone is porous and will stain or discolour with regular water contact. Royale Stones’ Ceramic and porcelain tiles do not need to be sealed, though some unglazed porcelain benefits from a sealer to ease maintenance.
Common Mistakes to Avoid
While you tile your wall, do not do the following if you want your wall tiles to last for years:
- Skipping Waterproofing in Wet Areas: Leads to damp, mould, and substrate damage that’s expensive to put right once tiles are down.
- Using PVA as a Primer: Causes poor adhesion and premature tile failure.
- Choosing the Wrong Adhesive for the Tile or Location: Porcelain and large-format tiles need flexible C2 S1 adhesive, not standard ready-mixed.
- Not Allowing Enough Curing Time: Plaster, screed, and tanking membranes all need their specified drying time before the next stage.
- Ignoring Movement Joints: Rigid grout at changes of plane will crack; that’s what silicone sealant is for.
Cost & Time Considerations
As a general guide for UK homeowners in 2026, professional tiling labour typically runs from around £25–50 per m² for wall tiling, with a full bathroom (walls and floor) commonly costing £800–£1,200 including materials, according to Checkatrade’s cost data.
High-quality large-format tiles, natural stone, and intricate patterns from trusted suppliers like Royale Stones push labour costs up due to the extra time and precision required. These are averages, not quotes; get at least two or three like-for-like quotes from local tilers before committing, since prep work and waterproofing needs can vary the price significantly between two rooms that look similar on the surface.
On timing, budget for the full sequence rather than just the visible tiling days: plaster curing, tanking cure time, the tiling itself, grout curing, and a further 14-day wait before a wet room or shower goes into use.
Recap & Where to Go Next
Getting a wall tiling job right comes down to five things:
- A properly prepared and cured substrate
- The correct adhesive for the tile and location
- Waterproofing in wet areas
- Consistent grout points at the correct width
- Patience with curing times at every stage
Ready to start? Explore our indoor tiles, bathroom tiles, and outdoor wall tiles. Buy wall tiles online or get in touch at 0800 002 9421 / 07946 591912 for personal consultation.
FAQs
What is the best adhesive for bathroom wall tiles?
A flexible C2 S1 (or higher) cementitious adhesive, which meets the bond strength and flex requirements for porcelain and wet-area tiling.
Can you tile directly onto plasterboard?
Yes, in dry rooms, provided the plasterboard is securely fixed, at least 12.5mm thick, and correctly primed. In wet areas, plasterboard needs a waterproofing (tanking) system over it. It isn’t considered adequate protection on its own.
How long does tile adhesive take to dry?
Most standard adhesives are touch-dry within 24 hours and safe to grout after that, but full cure can take longer. Always check the manufacturer’s datasheet, and don’t rush grouting on large-format or heavily back-buttered tiles.
Do I need flexible adhesive for large-format wall tiles?
Yes. Tiles over roughly 30x30cm, porcelain with low water absorption, natural stone, and any tiling over underfloor heating all call for flexible C2 S1 adhesive at minimum.
What’s the difference between ready-mix and powdered tile adhesive?
Ready-mixed adhesive comes pre-prepared in a tub, which is mostly suited for small ceramic wall tiles in dry rooms. On the other hand, powdered adhesive is mixed on site; it offers higher bond strength and is required for floors, porcelain, large-format tiles, and wet areas.