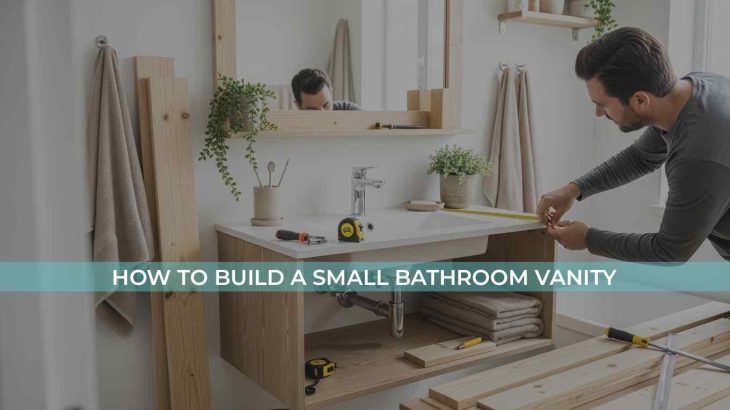
Everyone wishes to have a bathroom that is spacious, has a lot of storage, and sets your mood for the whole day, and that also without breaking the bank. Learning how to build a small bathroom vanity unit might be your next weekend project.
A bathroom vanity unit does more than just hold your sink; it gives your bathroom a structure, warmth, and personality. UK homeowners in the UK cities especially own smaller bathrooms, and DIYing a vanity can save a lot of money, optimise your space, and match your exact style, whether you want a rustic, minimalistic, or modern bathroom vanity unit.
The good news is that you don’t have to be a professional anymore to build yourself one. If you have the right tools, materials, and a step-by-step guide on how to build a vanity unit for bathrooms, you can make a vanity that looks store-bought but costs a fraction.
This guide contains a detailed guide on how to design, build, and install your very own small bathroom vanity unit, bathroom sink, from planning to waterproofing, and even making it look like out of a high-end home design catalogue.
Why Build Your Own Bathroom Vanity
You can definitely buy a vanity unit from stores, but building one gives you several advantages that can make your bathroom a portrayal of your personality.
Here are different types of bathroom vanity units you need to understand and choose the one that you are inspired by to build yours: What Are the Different Types of Vanity Units?
Saves Money
Pre-built vanity units normally cost more than custom vanity units. Especially the hardwood finishes and marble tops cost you an arm and a leg. Building your own vanity unit, you can use multiple cheap DIY bathroom vanity ideas and free DIY bathroom cabinet plans in order to achieve the same look, but for a much lower price than what you buy at a store.
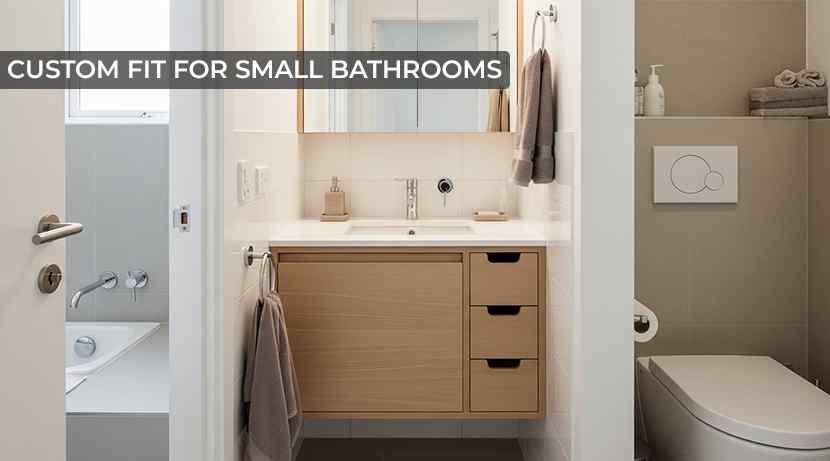
Custom Fit for Small Bathrooms
Small bathrooms mostly have custom dimensions that a normal vanity might not be able to fit properly. By learning how to build a small bathroom vanity step by step, you will be able to tailor every inch to maximize form and function.
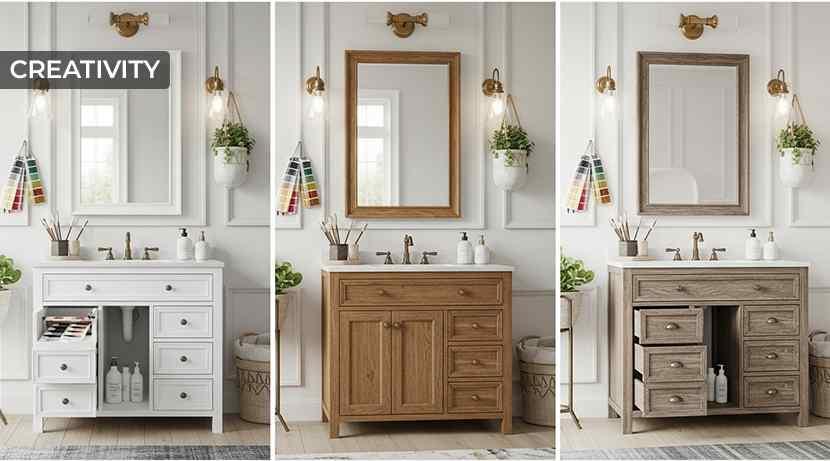
Creativity
You can paint your vanity unit any colour you want or have any drawer configuration while designing a vanity. You can build what truly fits your home’s style, whether that is modern, vintage, or farmhouse.
If you are searching for vanity unit inspirations or want to buy a ready-made vanity top, tiles, or even a vanity unit. Royale Stones offers a wide range of bathroom vanity with sink, porcelain bathroom tiles that pair beautifully with your DIY wood base.
Planning to Build Your Small Vanity Unit
Asking: Can I build my own bathroom vanity? Yes, but before you pick a saw, it is essential to plan properly and have all the information and tools to get started.
Here is the proper step-by-step guide to building a vanity unit:
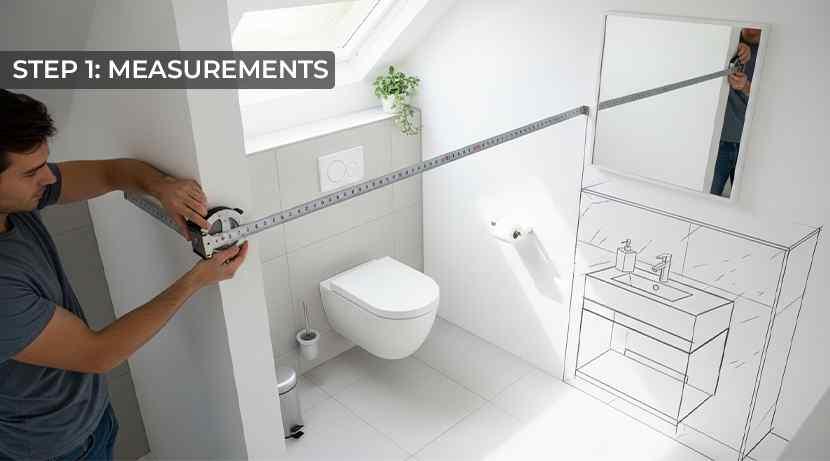
Step 1: Measurements
Take a precise and accurate measurement of your bathroom, like the length, depth, and height. The standard height of your vanity unit is around 32-36 inches, but if you have a small bathroom, you should benefit from a compact or a wall-hung unit.
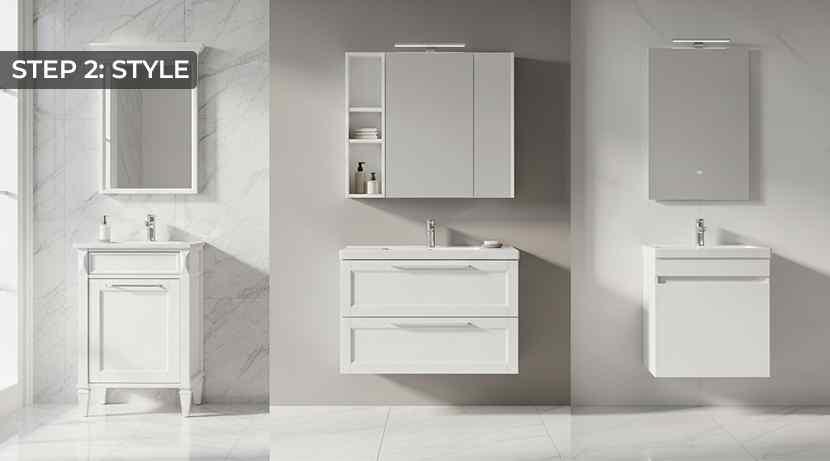
Step 2: Style
Choose your style strategically. Decide whether you want:
- A freestanding bathroom vanity unit that is easier to build and move.
- A wall-mounted vanity unit that creates a modern floating effect and saves floor space.
- A single sink vanity unit, which is ideal for small layouts with dimension problems.
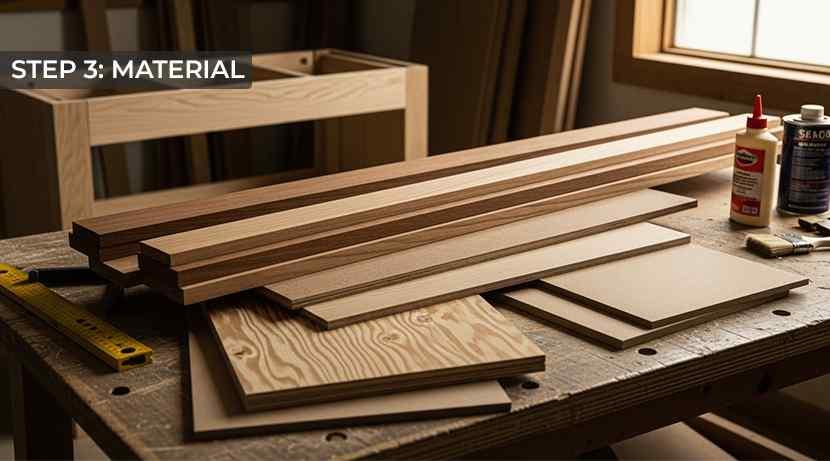
Step 3: Material
If you want to have the best vanity unit that is DIYed, choose materials like solid hardwood, marine plywood, or MDF sealed for moisture resistance. If you are planning a small bathroom vanity out of wood, make sure you use a waterproof finish to protect against humidity.
Required Tools and Materials
Here are the tools and materials needed for building a small vanity unit in your compact bathroom:
| Tools | Materials |
| Circular saw or jigsaw | 18mm plywood or solid hardwood |
| Drill and bits | Wood screws |
| Pocket hole jig | Wood glue |
| Measuring tape and square | Drawer slides (optional) |
| Sander or sandpaper | Vanity top or countertop (laminate, quartz, or tile) |
| Clamps | Sink and tap set |
| Paint or waterproof sealant |
Pro-Tip: If you have a small budget to work with, get a build-your-own bathroom vanity kit or free DIY vanity plans only in order to simplify the overall process.
How to Build a Small Bathroom Vanity
Now, we will walk you through how to create a compact and stylish vanity unit from scratch that goes with your overall bathroom and bathroom accessories:
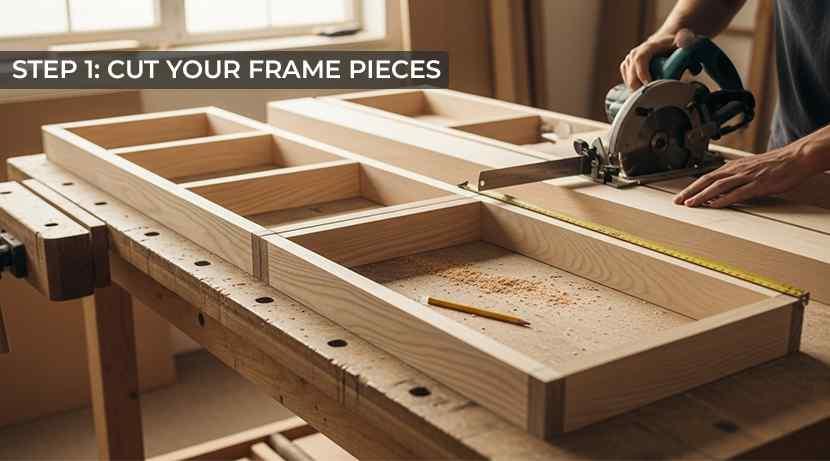
Step 1: Cut Your Frame Pieces
Cut all the pieces that you will need for your vanity:
- The wood panels for the base
- The sides of your vanity
- The top supports
Make sure that you follow the standard sizes for your normal compact vanity: 600mm width, 450mm depth, and 850mm height.
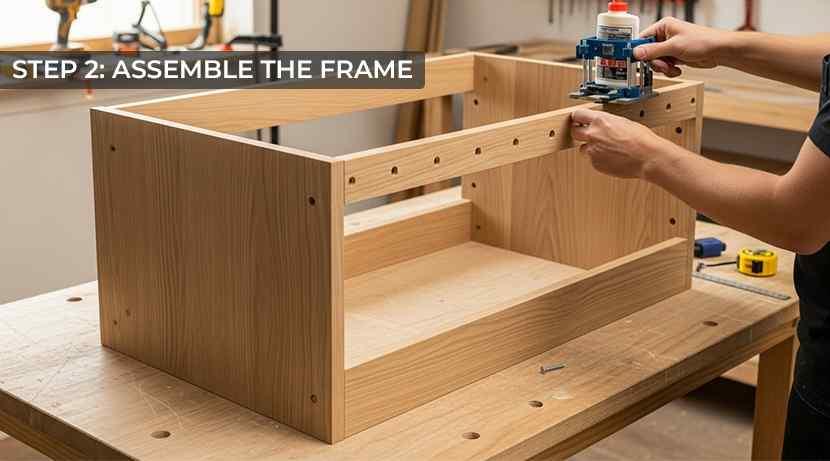
Step 2: Assemble the Frame
Use the wood glue, screws, or a pocket hole jig for hidden joints to attach your pieces, like side panels, to the base and top supports.
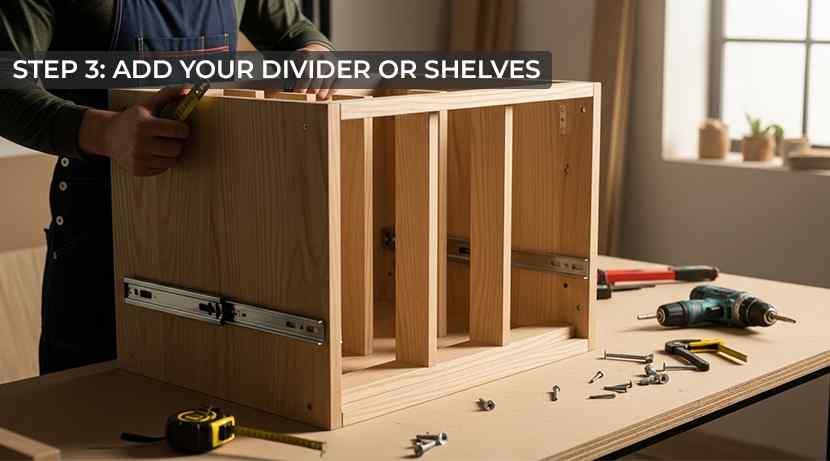
Step 3: Add Your Divider or Shelves
If your vanity unit design includes drawers or open shelves, add your dividers now. Use drawer slides for your drawers, which is a great way to enhance the overall functionality of your vanity.
(If you are searching for “how to build a small bathroom vanity with drawers,” this is your key step.)
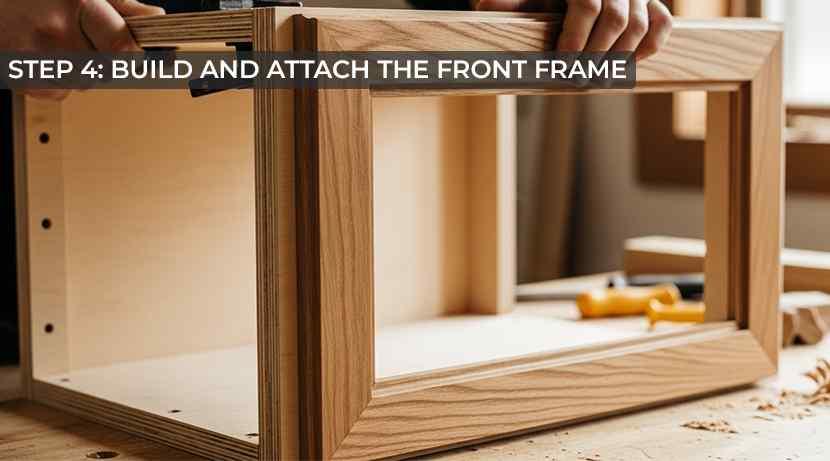
Step 4: Build and Attach the Front Frame
Attach your front frame made of 1×2 hardwood boards for a polished and clean look. This conceals the rough edges of your plywood, giving it a professionally finished appearance.
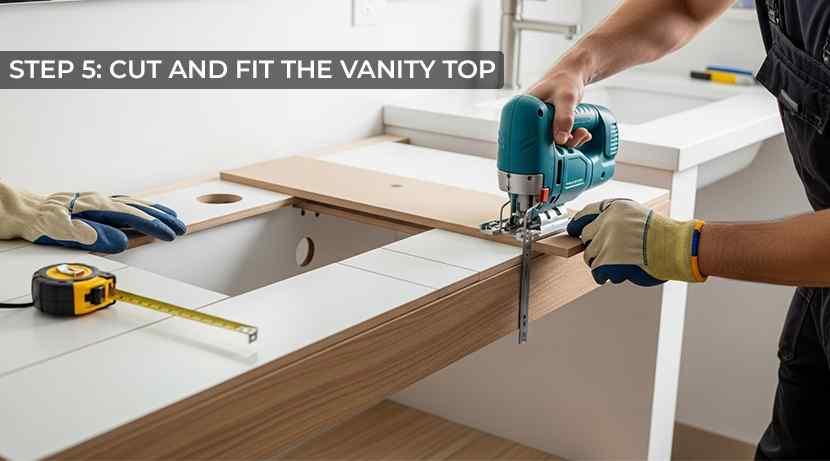
Step 5: Cut and Fit the Vanity Top
Whether you have chosen a pre-made countertop or have created one yourself using wood or tiles, cut it and fit it to the top of your vanity unit after cutting a hole for the sink using a jigsaw. If you are making a tiled vanity top, you must use a waterproof adhesive and grout in order to ensure that your tiled top remains lasting and protected for years.
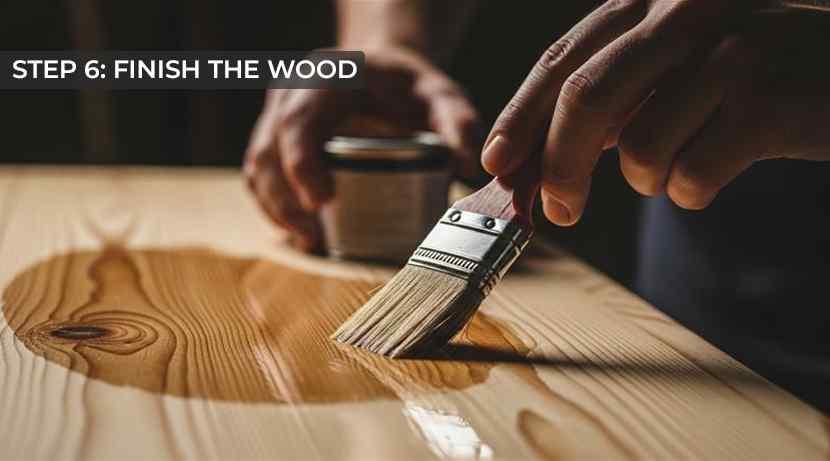
Step 6: Finish the Wood
Apply a waterproof varnish, polyurethane coating, or a marine-grade paint to finish the wood. If you want a rustic look, stain your wood before sealing it.
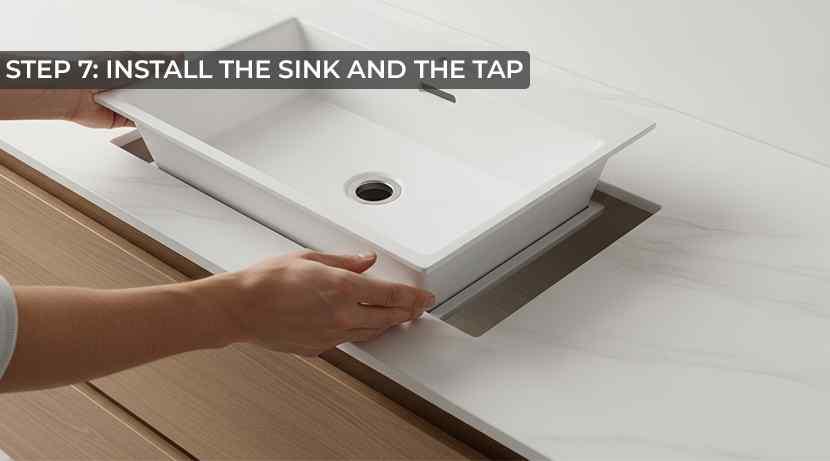
Step 7: Install the Sink and the Tap
Place your sink or bowl into the cutout of your top and connect the plumbing. Use a silicone sealant in order to prevent leaks and warping.
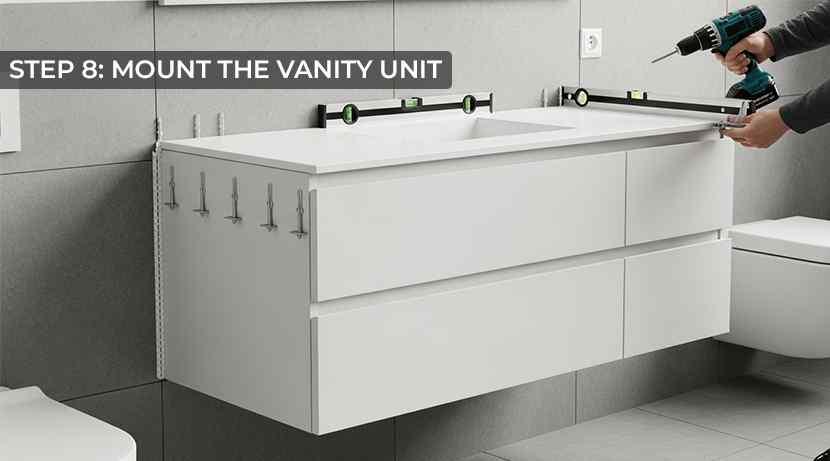
Step 8: Mount the Vanity Unit
Secure your vanity unit to the wall with the help of wall anchors and screws (especially for your floating design). Level your vanity unit properly before sealing the edges with caulk.
Storage and Drawers
Even if you have a small bathroom, you can add clever storage in your bathroom cabinets with sink for your toiletries and usability.
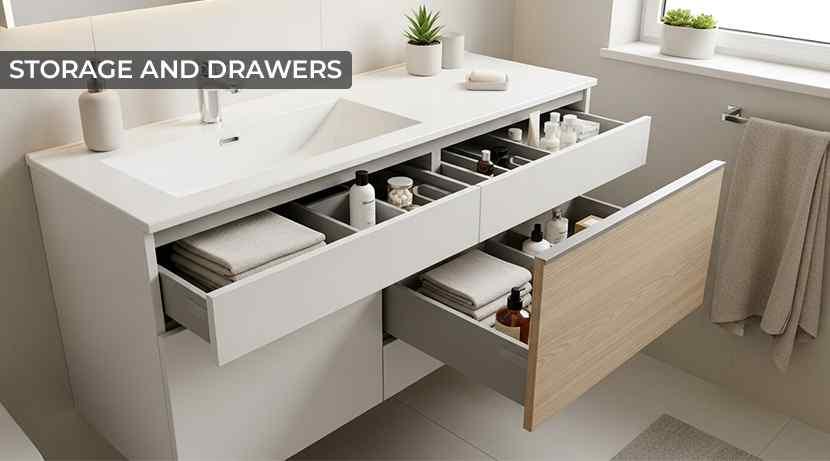
How to Add Drawers to Your Vanity Unit
For a DIY bathroom vanity with drawers, you can build drawer boxes from plywood and fit them using side-mount or soft-close drawer slides.
For smaller vanities, install one drawer and one open shelf for best storage.
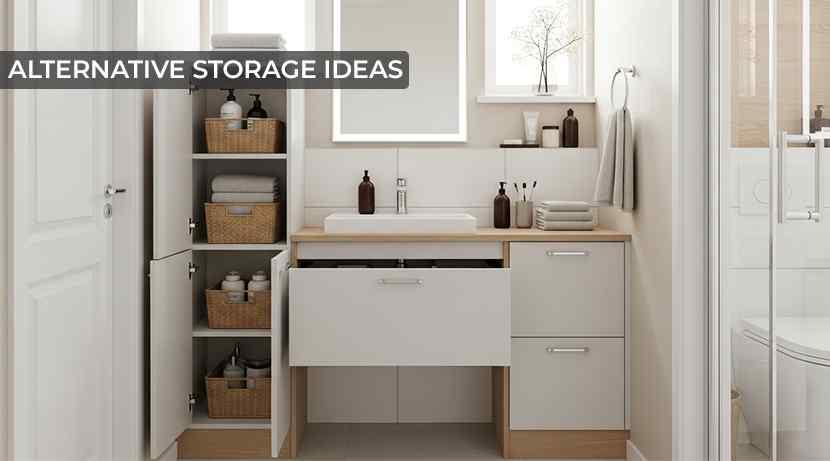
Alternative Storage Ideas
- Basket Shelves: Add baskets for towels and toiletries.
- False Drawer Front: Include these under the sink for maintaining symmetry.
- Soft-Close Cabinet Doors: Install these doors for a modern look and feel.
Vanity Design Inspiration
Here are some of the top vanity design inspirations:
- Modern Minimalist has clean lines, white finishes, and matt black handles.
- Rustic Farmhouse using reclaimed wood and a ceramic basin with brass fittings or character.
- Scandi Style, combining wood tones with white paint and minimal hardware for a fresh and airy look.
- Compact Wall-hung Vanity giving a floating illusion and more space, ideal for a small family bathroom.

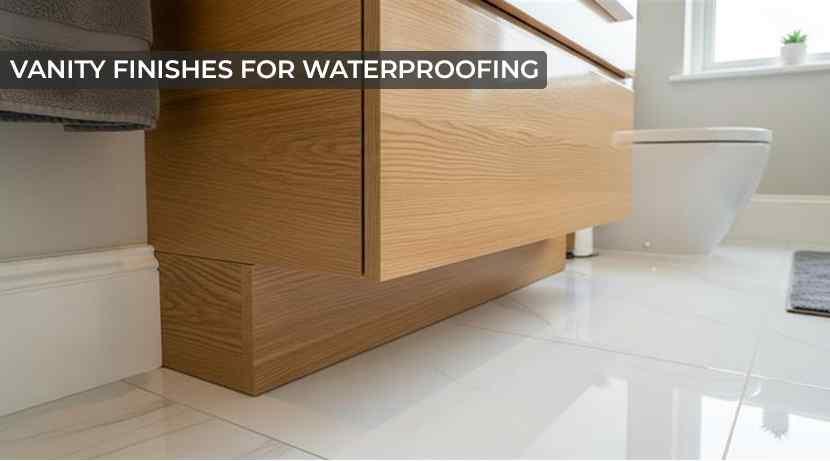
Vanity Finishes for Waterproofing
Moisture is the worst enemy of your vanity units. You can protect your wood by:
- Sealing your wood, joints, and edges with silicone.
- Using polyurethane or marine varnish.
- Lining your vanity base with the help of waterproof vinyl.
- Avoiding MDF usage if you have a highly humid bathroom.
For UK bathrooms, pair your DIY vanities with porcelain floor tiles from Royale Stones. They are waterproof, slip-resistant, and elevate the overall finish of your bathroom.
Maintenance Tips
Once you build your DIY vanity unit, do the following to make it last for years:
- Wipe spills immediately in order to prevent swelling and warping.
- Reseal your wood surfaces annually.
- Check your caulk and silicone around your sinks regularly.
- Avoid harsh chemicals on your wood and tops as they can strip the finishes.
Conclusion
If you are learning how to build a small bathroom vanity unit, you not only feel rewarded but also save a lot of money on home upgrades. Combine your creativity, craftsmanship, and practicality to create a bathroom that looks custom and feels truly yours.
Whether you are after a simple freestanding vanity or a modern floating unit, the overall process is straightforward when you follow the right steps.
If you want design inspirations or a pre-built vanity unit, tiles, sinks, and vanity tops, your trusted supplier, Royale Stones, has a collection that helps DIYers and professionals alike for a masterpiece!
So, grab your tools, roll up your sleeves, and get started to build the bathroom centerpiece your space truly deserves.
Frequently Asked Questions
Is it cheaper to build or buy a bathroom vanity?
Building your own vanity can cost 50% less than buying one. You get a customized dimension and finish according to your exact space.
Can I DIY a bathroom vanity?
Yes. If you have basic carpentry tools and free DIY bathroom vanity plans, you can complete your small vanity project in a weekend.
What kind of wood to use for a bathroom vanity?
Hardwoods like Oak, Maple, and Walnut, and marine-grade plywood are warp-resistant and can be waterproofed easily.
What is the smallest depth for a bathroom vanity?
350mm-400mm (14-16 inches) depth for compact vanities for small en-suites and cloakrooms.
How to make a wood vanity waterproof?
Apply polyurethane, epoxy resin, or marine varnish to all exposed surfaces. Silicone-seal your near-sink areas to prevent water ingress.