


How to Clean a Porcelain Patio: Moss, Algae and Winter Care
A damp British autumn is exactly when green films, moss and slippery patches start to appear on patios, even on hard-wearing surfaces. The good news is that porcelain is one of the easiest materials to restore, and a simple routine keeps it safe and good-looking all year round.
Quick answer: to clean a porcelain patio, sweep away debris, apply a moss and algae remover suitable for outdoor paving, scrub gently with a stiff brush, rinse thoroughly and let the surface dry. Repeat once or twice a year, with extra care in winter.
Few garden tiles are as forgiving as porcelain, but they still need occasional attention in a climate as wet as ours. This guide explains why growth appears, how to remove it safely and how to protect your patio through the colder months.
Why Do Moss and Algae Appear on a Porcelain Patio?
Porcelain paving is dense and vitrified, so it does not soak up water the way natural stone can. Moss and algae therefore grow on the surface, in a thin film of dust, pollen and leaf residue, rather than in the slab itself. Damp, shade and poor airflow give that film everything it needs.
Growth usually starts in these places first:
- Shaded or north-facing areas that rarely dry out
- Beneath trees and overhanging hedges, where leaves and sap collect
- Joints between slabs, where soil and moisture settle
- Low spots and edges where water pools after rain
- Below downpipes and gutters that overflow
Beyond appearance, algae is a safety issue. A green film makes any surface slippery when wet, which matters most on steps and paths.
What You Need Before You Start
- A stiff-bristled broom and a stiff, non-wire hand brush
- A hose, bucket and clean water
- A moss and algae remover or outdoor paving cleaner, used exactly as the label directs
- Rubber gloves and eye protection
- A pressure washer with a wide fan nozzle (optional)
Choose a dry, mild day if you can. Cleaners work better when rain is not washing them away, and the surface will dry faster afterwards.
How to Clean a Porcelain Patio: Step by StepStep
1: Sweep and Clear Debris
Move furniture and planters, then sweep the whole surface to lift leaves, grit and loose dirt. Pay attention to the joints, because trapped soil feeds moss.
Step 2: Treat Moss and Algae
Apply your chosen remover evenly and leave it for the time stated on the label. Keep it off lawns and borders, and keep children and pets away until the surface has been rinsed and dried.
Step 3: Scrub Gently
Work a stiff brush across the surface in both directions to loosen whatever the treatment has softened. Textured finishes hold dirt in their surface relief, so this stage matters. Kandla grey porcelain, for example, has a lightly textured, sandstone-style surface, which is why a brush works better than a cloth.
Step 4: Rinse Thoroughly
Rinse the paving slabs with plenty of clean water, working away from the house and towards a drain or border so that loosened dirt does not collect. Leftover residue attracts fresh dirt and can leave streaks, so keep rinsing until the water runs clear.
Step 5: Jet Wash With Care (Optional)
A pressure washer speeds up the job, but choose a low-pressure setting and a wide fan nozzle, keep the lance moving and avoid aiming straight into the joints, where it can strip out the jointing material. Never jet wash in freezing weather.
Step 6: Let It Dry and Check the Joints
Allow the patio to dry naturally, then look for gaps or crumbling joint material. Repair these promptly, because open joints let in water and weeds.
What Not to Use on Porcelain
- Bleach, ammonia and strong acids, unless the product is specifically approved for porcelain
- Wire brushes, which can scratch the surface and leave rust marks
- Rock salt, which can damage joints and nearby planting
- Unlabelled home remedies that could stain or leave residue
If you are removing cement or grout haze rather than moss and algae, choose a cleaner made for that purpose and follow the manufacturer's instructions.
Winter Care for a Porcelain Patio
Porcelain's very low water absorption makes it highly resistant to frost, but winter still brings slippery algae, fallen leaves and ice. A few habits make a real difference:
- Sweep leaves regularly, because wet leaves leave tannin stains and encourage algae.
- Use grit sand instead of rock salt on icy mornings.
- Clear snow with a soft broom or plastic shovel, not a metal blade.
- Avoid jet washing in frost, because water trapped in joints can freeze.
- Keep drainage clear so water can run off rather than pool.
Planning ahead pays off too. If you are still choosing garden slabs for a shaded corner, larger formats mean fewer joints, and fewer joints give moss fewer places to take hold.
Caring for Natural Stone Borders
Many UK gardens combine porcelain with natural stone, and each material needs a slightly different approach.
Limestone pavers are softer and can be etched by acidic cleaners, so use a gentle, stone-safe product and test it on a hidden corner first.
Sandstone paving is more porous and holds moisture for longer, so it needs lower pressure when jet washing and a little more patience while it dries.
How to Stop Moss and Algae Returning
- Trim back overhanging branches to let in more light and air.
- Check falls and drainage so water leaves the patio.
- Sweep weekly in autumn and after storms.
- Clean twice a year, typically spring and autumn, and more often in shade.
- Choose finishes thoughtfully. Two-tone garden tiles, such as checkerboard patterns, show dirt differently across light and dark squares, so a quick sweep keeps them crisp.
Keep Your Patio Looking Its Best with Royale Stones
Royale Stones is a UK supplier with roots in stone manufacturing stretching back more than 25 years. You can see finishes at our showrooms in Lincoln, Watford, Peterborough, Birmingham and Kent, order samples for £2.49 each, and receive free pallet delivery to most UK postcodes. Our team can also advise on grouts, primers, sealers and cleaners to suit your slabs, and trade customers can apply for a free Trade Account.
Frequently Asked Questions
- Bathroom Tiles
- Bathroom Vanity Units
- Porcelain Paving
- Floor Tiles
- Kitchen Tiles
- Garden Paving
- Porcelain
- Wall Tiles
- Natural Stone Paving
- Onyx Tiles
- Paving Slabs
- Sandstone Paving
- Anti Slip Tiles
- Terrazzo Tiles
- Marble Tiles
- Outdoor Porcelain Tiles
- Brick Effect Tiles
- Wood Effect Paving
- Paving
- Exterior Floor Tiles
- Outdoor Tiles
- acoustic wall panels
- Bathroom Basins
- Indoor Tiles
- Vinyl Flooring
- Stone Effect Wall Tiles
- External Wall Tiles
- Dijon Limestone
- 3D Split face Wall Tiles
- Vanity Units
- Outdoor Porcelain Paving
- Knowledge Base
- Luxury Tiles
- Inside Out Tiles
- Victorian Floor Tiles
- Slate Effect Tiles
- Porcelain Paving Slabs
- Concrete Effect Tiles
- Porcelain Tiles
- Wood-Effect Tiles
- Tumbled & Chiselled Tiles
- Tile Installation Tips
Recent Post
-
 November 3rd, 2026
-
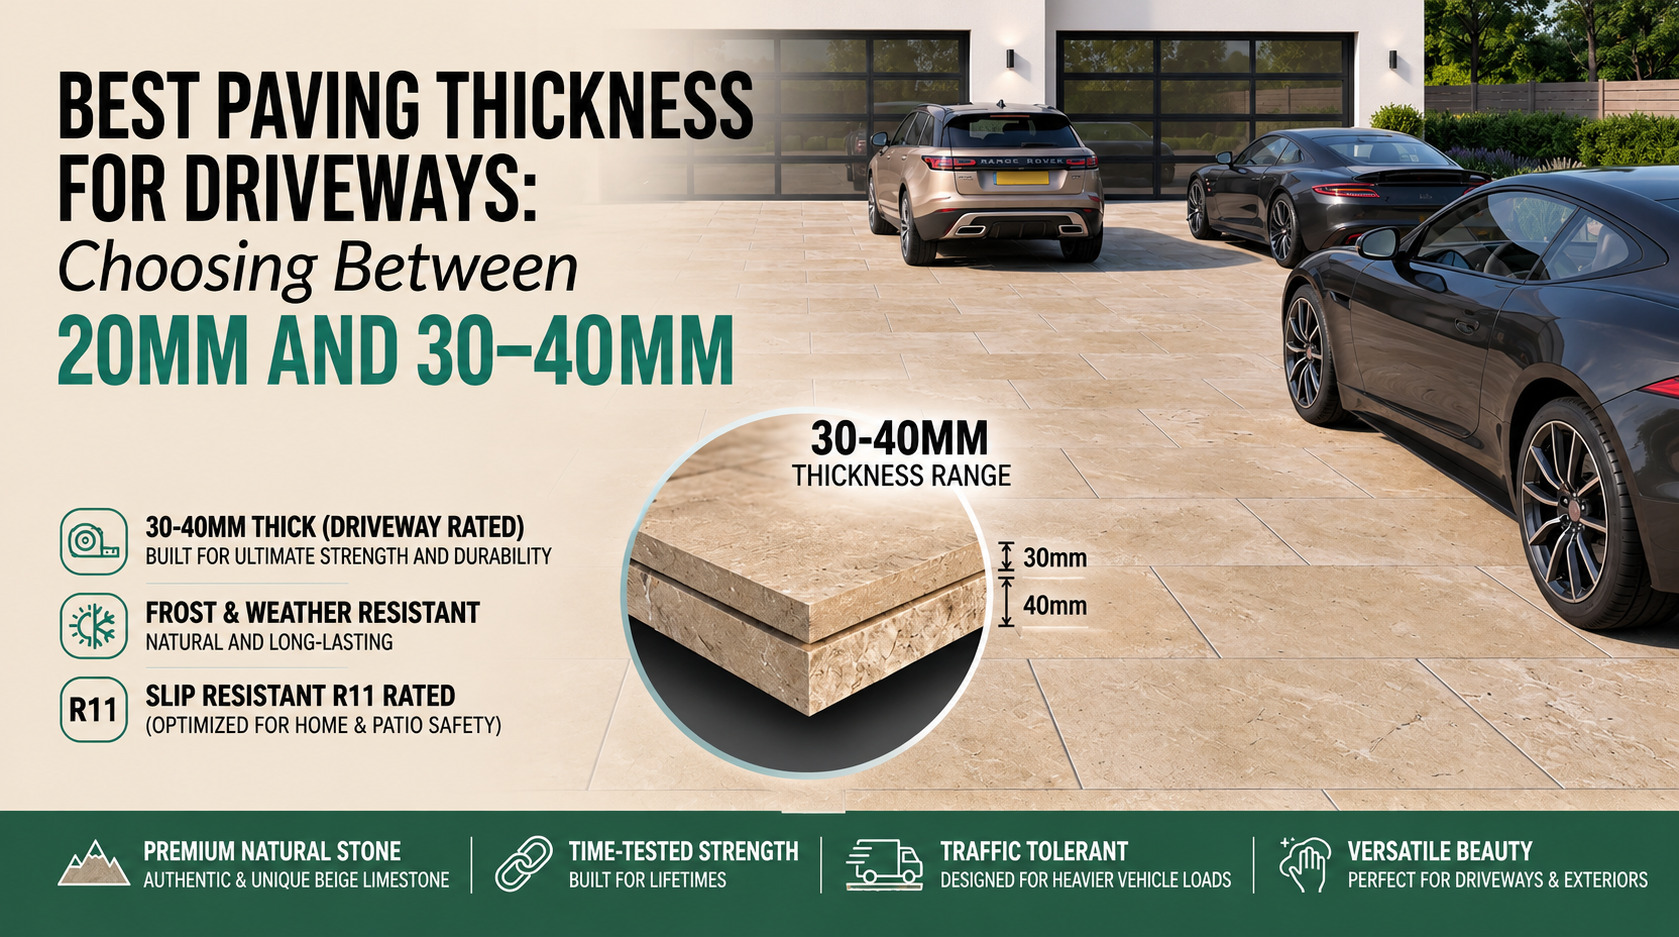
Best Paving Thickness for Driveways: Choosing Between 20mm and 30–40mm
November 2nd, 2026 -

7 Reasons to Choose a Wooden Vanity Unit for Your UK Bathroom
November 2nd, 2026
