


Laying Porcelain Paving Over Concrete: When It Works and When It Fails
Replacing a tired concrete patio is one of the biggest jobs in a garden makeover, and breaking up old concrete is hard, messy work. It is no surprise that many UK homeowners ask whether they can simply lay porcelain on top. The honest answer is yes, but only when the concrete underneath is in good condition.
Choosing garden patio tiles for an existing base can save time and money, yet it carries real risk if the base is not checked first. This guide explains when the method works, the warning signs that it will fail, and how the job is done properly.
Quick answer: porcelain slabs can be laid over existing concrete if it is sound, thick enough, reasonably level, falling away from the house and low enough to leave room for the extra height. If it is cracked, sunken, crumbling or holds water, remove it and start again.
Why Concrete Can Make a Good Base for Porcelain
Porcelain paving is rigid and very dense, so it performs best on a firm base that does not move. A well-made concrete slab provides exactly that, which is why some landscapers prefer it, especially on clay soils that swell and shrink with the weather.
The main advantages are:
- Stability: a sound slab will not settle under furniture, planters or heavy foot traffic
- Less groundwork: there is no excavation, skip hire or new sub-base to pay for
- A faster start: laying can begin once the surface has been cleaned and prepared
When It Works: Five Checks Before You Start
Work through these checks before you order anything.
1. The Concrete Is Sound
Walk across the slab and tap it with a hammer. Rocking sections, hollow sounds or flaking areas are red flags. Fine hairline cracks on the surface are often acceptable, but wide cracks that run right through the slab are not.
2. It Is Thick Enough
Many suppliers quote 100mm as a minimum for a concrete base. Check at an exposed edge or step, and if you are unsure, ask a landscaper to assess it.
3. It Is Level, or Can Be Corrected
Small undulations can often be absorbed by the mortar bed or adhesive layer, but large dips and humps cannot. Large-format garden slabs are the least forgiving, because a long slab will rock on high spots and bridge across dips.
4. It Falls Away From the House
Surface water must run off the patio and away from walls. A flat or reverse slope traps water, and moisture trapped beneath slabs leads to damp patches over time.
5. There Is Room for the Extra Height
Porcelain adds the slab thickness plus the bed or adhesive layer. The finished level should stay well below the damp-proof course, typically around 150mm below it, and should not create a step or trip hazard at door thresholds.
If you are choosing garden tiles in a large format such as 900x600mm, calculate the build-up using the exact thickness of your chosen product, whether that is 16mm or 20mm.
When It Fails: Red Flags to Respect
Some problems cannot be fixed by laying a new surface on top. Look out for these warning signs:
- Cracks, heave or frost damage: cracks do not heal, and movement in the base is likely to transfer into the slabs above it
- Sunken or tilted areas: these suggest the ground beneath is still moving
- A crumbling surface: loose, flaking concrete will not hold a lasting bond
- Poor falls: water left standing on the patio will keep standing on the new surface
- Too little height: the new surface may rise above the damp-proof course
Thickness variation matters too. Some natural stone paving slabs differ by several millimetres from one piece to the next, so contractors who allow only for an average depth can end up with a finished level higher than planned. Porcelain is generally more uniform, but always check the stated thickness of the exact product.
How to Lay Porcelain Over Concrete: The Basic Method
This overview does not replace advice from your installer or the manufacturer's instructions for the products you use.
- Clean the surface thoroughly, removing algae, grease, paint and loose material.
- Repair damaged areas and correct major level problems before you start.
- Prime the concrete if your mortar or adhesive supplier recommends it.
- Prime the back of each slab, because dense porcelain does not bond well with mortar on its own.
- Fix on a full bed, using full mortar coverage or an outdoor-grade adhesive suited to porcelain, never a few spots of mortar, so every slab is fully supported.
- Maintain the fall away from the house as you work.
- Joint with a suitable product once the bed has set, and clean residue from the surface promptly.
Ask your installer whether movement joints are needed for your layout, because advice varies with the size of the area and the condition of the base.
Get the Right Materials and Advice at Royale Stones
Royale Stones is a UK supplier with roots in stone manufacturing stretching back more than 25 years. Our primer, adhesive and outdoor grout ranges sit alongside our outdoor porcelain, so you can plan the whole job in one place. You can order samples for £2.49 each, use the free tile calculator to add 10% for cuts, and visit our showrooms in Lincoln, Watford, Peterborough, Birmingham and Kent. We offer free pallet delivery to most UK postcodes, and trade customers can apply for a free Trade Account.
If you are unsure whether your existing base is suitable, ask a qualified landscaper or builder to inspect it before you buy.
Frequently Asked Questions
- Bathroom Tiles
- Bathroom Vanity Units
- Porcelain Paving
- Floor Tiles
- Kitchen Tiles
- Garden Paving
- Porcelain
- Wall Tiles
- Natural Stone Paving
- Onyx Tiles
- Paving Slabs
- Sandstone Paving
- Anti Slip Tiles
- Terrazzo Tiles
- Marble Tiles
- Outdoor Porcelain Tiles
- Brick Effect Tiles
- Wood Effect Paving
- Paving
- Exterior Floor Tiles
- Outdoor Tiles
- acoustic wall panels
- Bathroom Basins
- Indoor Tiles
- Vinyl Flooring
- Stone Effect Wall Tiles
- External Wall Tiles
- Dijon Limestone
- 3D Split face Wall Tiles
- Vanity Units
- Outdoor Porcelain Paving
- Knowledge Base
- Luxury Tiles
- Inside Out Tiles
- Victorian Floor Tiles
- Slate Effect Tiles
- Porcelain Paving Slabs
- Concrete Effect Tiles
- Porcelain Tiles
- Wood-Effect Tiles
- Tumbled & Chiselled Tiles
- Tile Installation Tips
Recent Post
-
 November 6th, 2026
-
 November 3rd, 2026
-
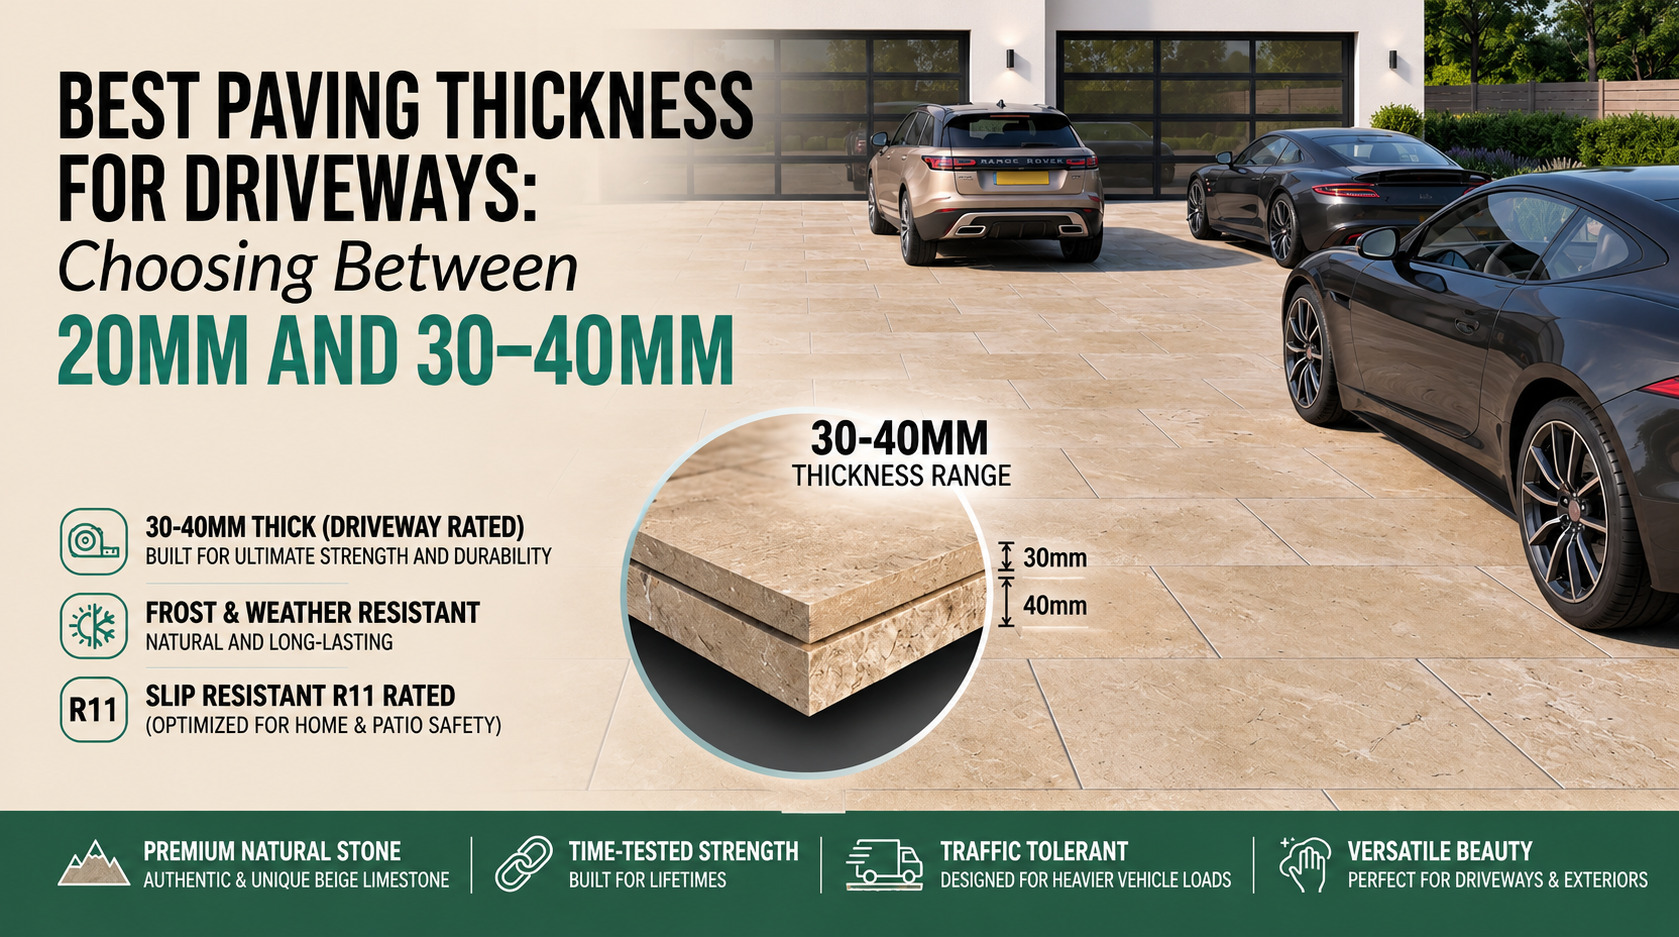
Best Paving Thickness for Driveways: Choosing Between 20mm and 30–40mm
November 2nd, 2026
